Tuesday, May 8, 2012

Tandoori Chicken


This is another of my mother-in-law's recipes.  She serves this often when we have big summertime gatherings with the whole family.  It's easy to multiply if you're serving a big crowd, and can be prepared the night before to save time.  You can also adjust the amount of hot pepper if you prefer it less spicy (I generally use 1/4 tsp instead of the given 1/2 tsp).  We like to serve this with rice, Cucumber and Vinegar Salad and Mango Chutney.  Delicious!

Tandoori Chicken
Recipe by Ruth Beal

Ingredients:
2-3 chicken breasts, cut into 1/2" strips
1/2 tsp hot chili powder, such as Cayenne or Chipotle (you can use less to make it not so spicy)
1 tsp salt
2 T fresh lemon juice
4 T melted butter
3 T plain yogurt
1 T chopped raisins
2 inches ginger root, peeled and grated (or finely chopped)
1/2 tsp ground cumin
2 tsp ground coriander
1/2 tsp red food coloring (optional)

Combine all ingredients in a Ziplock bag and shake well.  Let marinate in refrigerator for at least 2 hours, or up to overnight.  Thread meat onto skewers if desired, and grill over medium-high heat for 9-12 minutes, turning every three minutes, or until cooked through.

Makes 6 servings.

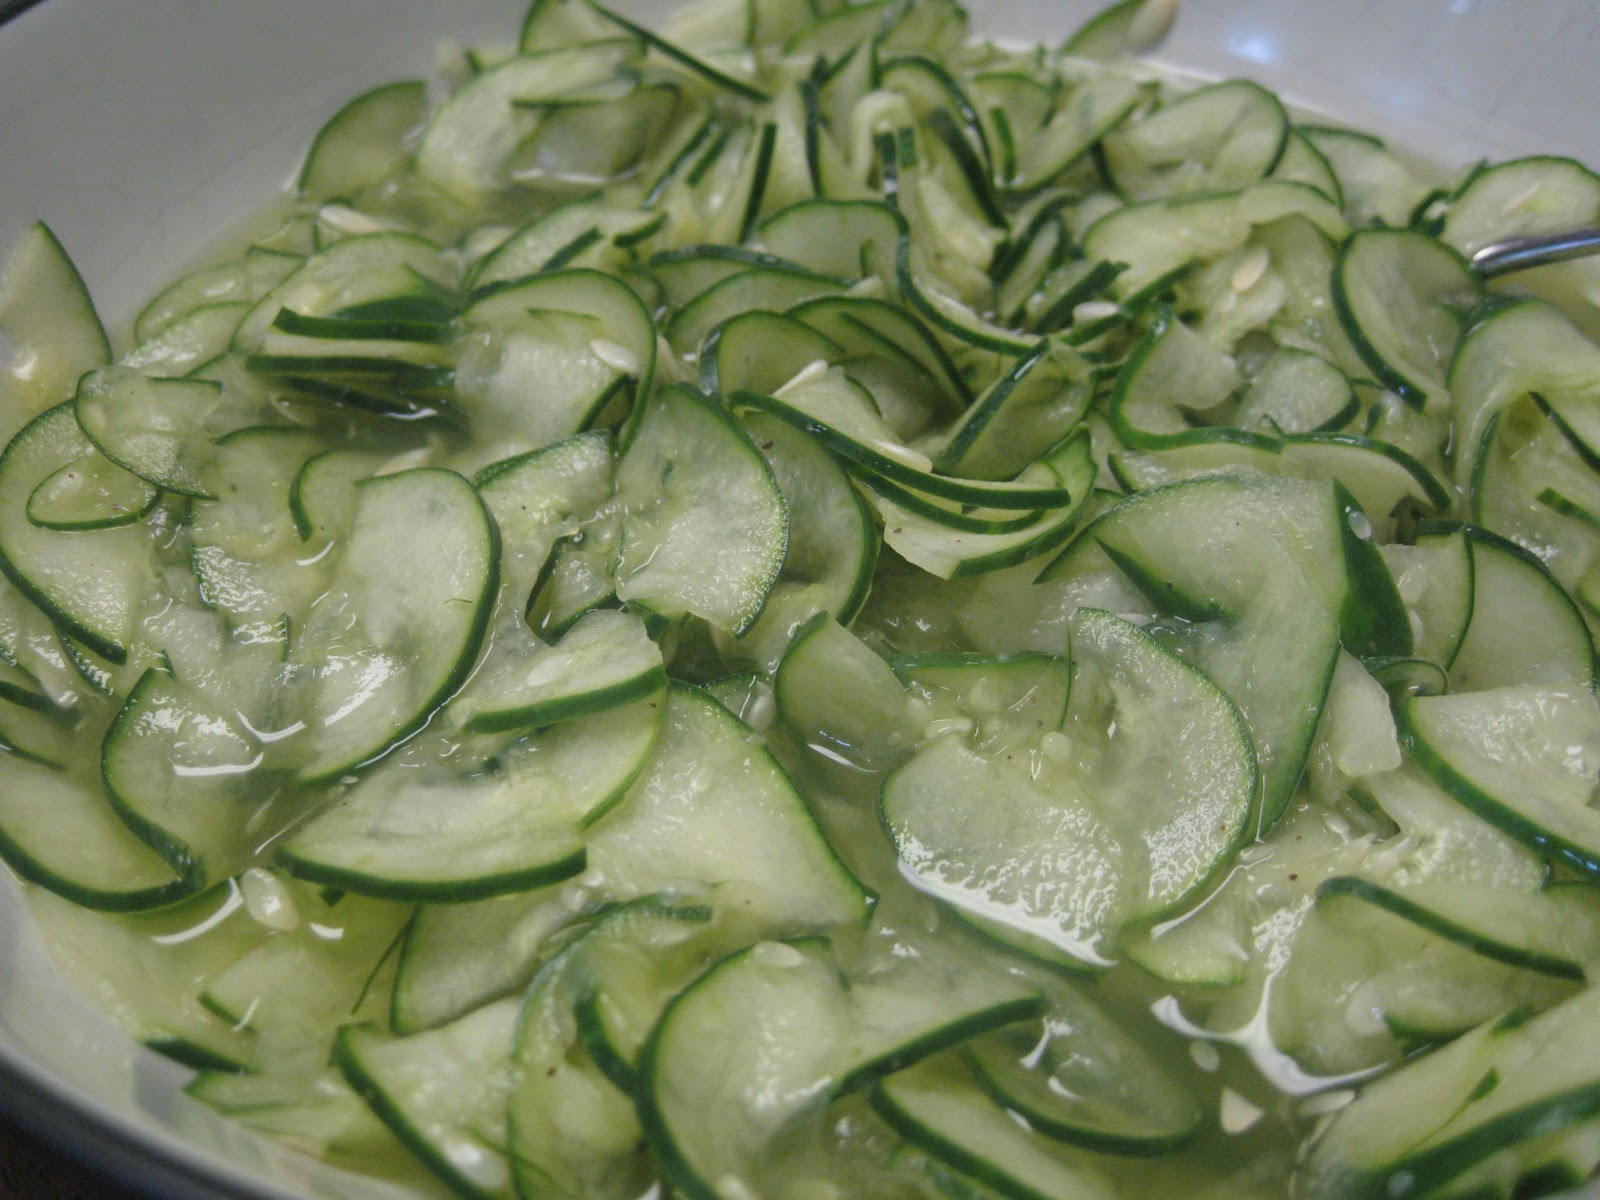
Cucumber and Vinegar Salad


My mother-in-law serves this salad with a lot of Asian dishes. It's tangy and juicy and cool and refreshing, perfect for a hot summer day.  It's a nice compliment to meats, anything spicy, or just on its own. 

Cucumber and Vinegar Salad
Recipe by Ruth Beal

Ingredients:
2 cucumbers, sliced paper thin (I recommend using a Mandolin or similar device)
1/2 cup apple cider vinegar
1 T water
2 tsp salt
1 T sugar
A dash of pepper

Combine all ingredients in a large bowl.  Stir well.  Refrigerate until ready to eat.

Makes 6 side dish servings.


Friday, May 4, 2012

Homemade Tortillas -- Just in Time for Cinco De Mayo!


I've purchased my fair share of tortillas.  They're always uniform in size and shape, and have the same non-descript flavor.  Which is fine.  But if you're making a meal that you want to taste authentic, you really should make your own tortillas!  They are easy to make, require only a few ingredients, and taste a hundred times better than the store-bought variety.  Even something as simple as a bean burrito tastes like a masterpiece when made with homemade tortillas.  Give them a try.  And this recipe is easily doubled or tripled if you're feeding a crowd!

Homemade Flour Tortillas
Recipe by my mother-in-law, Ruth Beal

Ingredients:
3 cups flour
1/2 tsp salt
1/4 tsp baking powder
1/3 cup shortening
1 cup milk
Cooking spray

In a medium bowl, whisk together flour, salt, and baking powder.  Cut in the shortening with a pastry blender or two knives until the shortening is evenly distributed and can almost not be seen.  Add the milk and stir until a dough forms and leaves the sides of the bowl.

Turn onto a clean countertop and knead for a few minutes until the dough is smooth and even.  Form into a ball and spray with cooking spray.  Cover and let rest for at least 15 minutes, or up to 3 hours.

Turn the oven to warm (170F) and prepare a plate lined with two cloth napkins, paper towels, or something similar.   Put the plate in the oven to keep the completed tortillas warm while the rest are cooking.

Divide dough into 6-10 even pieces, depending on the size of the tortillas you want (I usually divide mine into 8).  Roll each piece into a circle (that's the hard part!  Mine are never even, but that's okay, that's part of the charm).  If you need to, you can use a little flour, but I usually find it's not necessary.  The rolled out dough should be very thin, almost translucent, because it will shrink up some when you move it.   Place the completed unbaked tortillas on a plate on top of each other.  They shouldn't stick together, so don't worry about that.

Heat a griddle or large frying pan to medium or medium-high heat (around 350F if you're using an electric griddle).  Place one tortilla on the ungreased pan and let cook until the bottom has some brown spots and it getting a slight crust, about a minute.  Flip over and cook on the other side.  The tortillas should puff up a bit, but don't push them down.  They'll deflate when they're done cooking, and they'll cook just fine.

When your tortilla is done cooking, quickly place it in the warm oven between the two napkins.  Continue baking the remaining tortillas.  Serve warm.

Leftover tortillas can be stored for several days in a Ziplock bag or airtight container, or in the fridge for a week.  They'll taste better if they're warmed slightly before eating. I usually microwave them for 20-30 seconds or reheat them on a griddle.

Makes 6-10 tortillas.

Monday, April 30, 2012

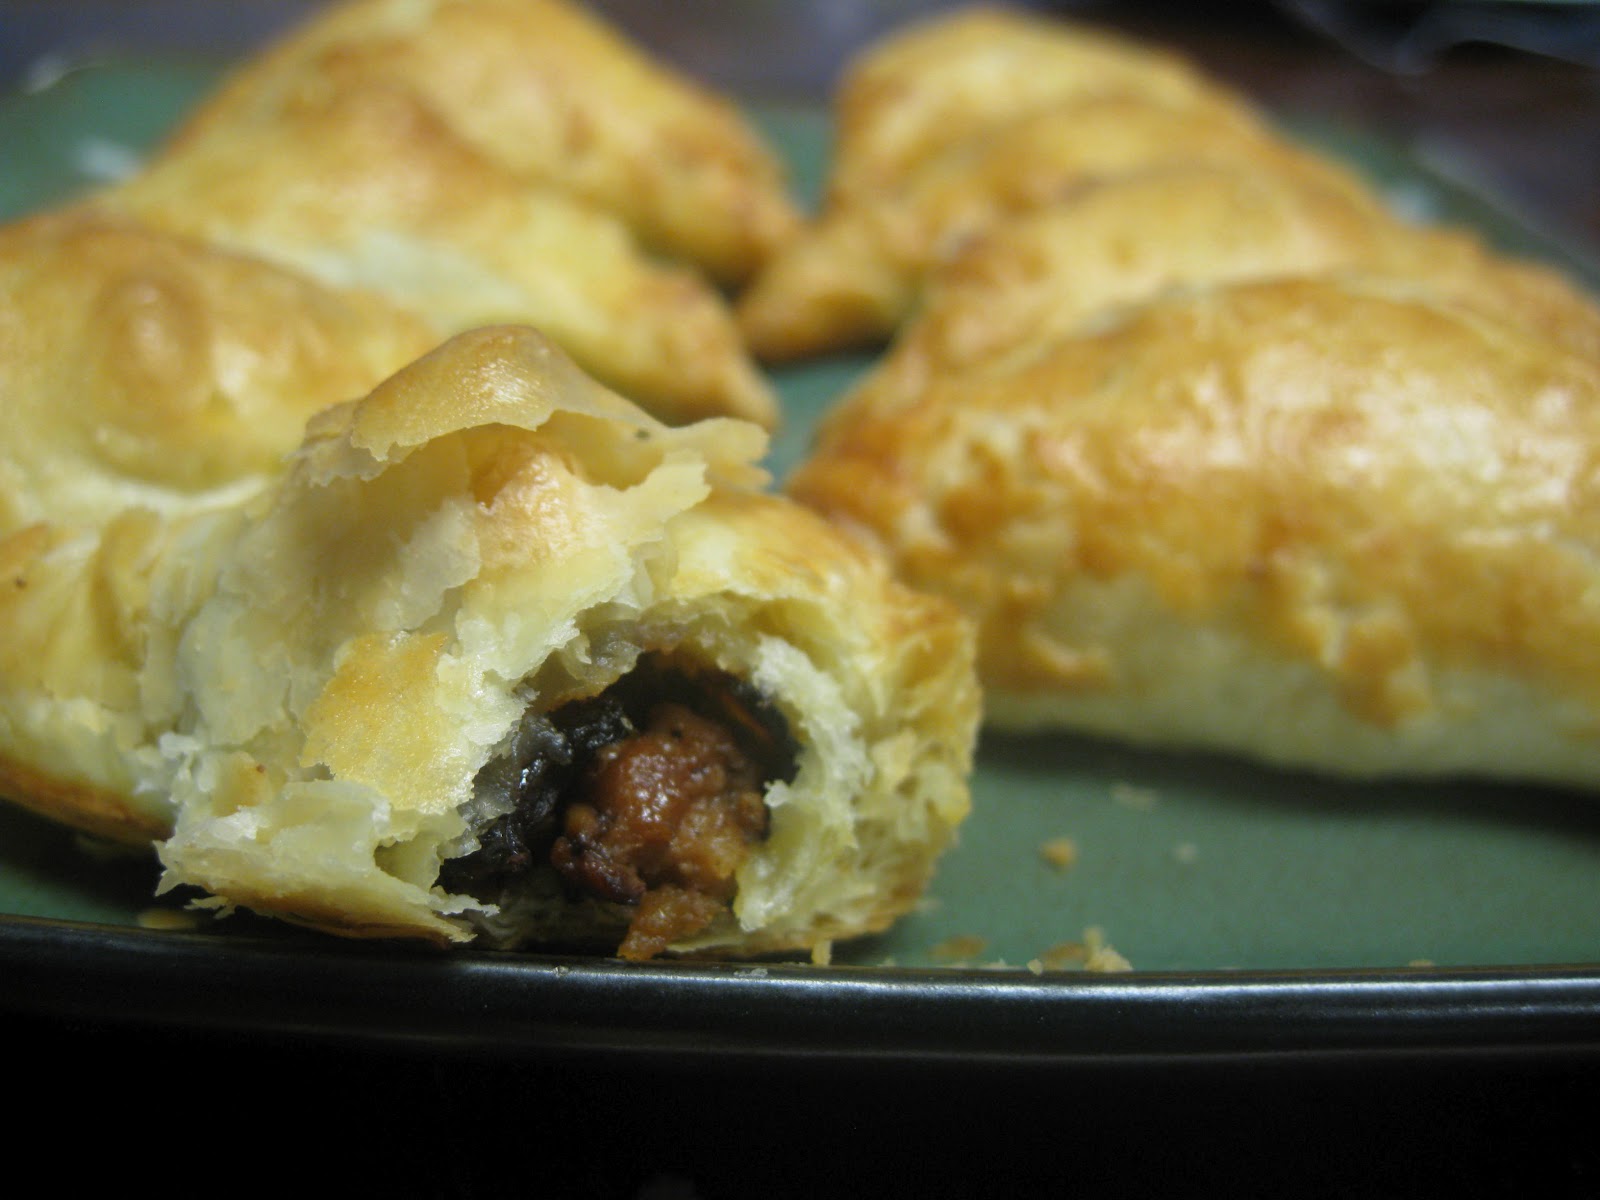
Sausage Pocket Pies


These pies are the perfect travel food--flaky, delicious, meaty, filling, and portable.  Grab a bunch to take to a baseball game or on a picnic.  Or just eat them for dinner with a lovely green salad.  They're delicious!  The best part about them, though, is that you can make them ahead of time.  You can either refrigerate or freeze them after they're made, and then pop them in the oven when you are ready to eat.  

Sausage Pocket Pies

Ingredients:
1/4 pound ground Italian sausage meat
1/2 small onion, chopped
2 cloves garlic, minced (about 1 tsp)
1/4 large Granny Smith apple, peeled, cored and cut into 1/4" cubes (or another very tart apple)
1 stem thyme, leaves picked (or 1/4 tsp dried)
1 small stem rosemary, leaves picked (or 1/4 tsp dried)
1 1/2 tsp chopped fresh parsley (or 1/2 tsp dried)
2 T Craisins or raisins 
Salt and pepper, to taste
1 T vegetable oil
1 T butter
1 package Puff Pastry (2 sheets), thawed for 40 minutes
1 egg + 1 tsp water, for egg wash

Prepare two baking sheets with parchment or silpat mats. Have on hand a small bowl filled with water. Preheat oven to 400F.


In a large skillet, cook the sausage over medium-high heat until cooked through.  Remove from pan and crumble; set aside.  In the same large skillet (don't wash), heat oil and butter over medium high heat.  Add onion and saute for two minutes, or until soft and lightly browned.  Add garlic and saute until fragrant and lightly brown, about 1 minute.  Add apples and saute until slightly tender, about 3-4 minutes.  Add thyme, rosemary, parsley, and Craisins, as well as the sausage.  Stir all together and cook for about 1 minute to meld flavors.  Add salt and pepper to taste.  Remove from heat.


Working with one sheet of puff pastry at a time (cover and refrigerate unused sheet until ready to use), cut into nine equal squares (you can cut the sheet first into thirds by cutting along the two fold lines, then cross-cut into nine squares).

Place a tablespoonful of filling in the center of each square.
 

Dip one finger in the bowl of water, then rub wet finger along two adjoining edges of a filled square of dough.

Fold the dough corner-to-corner to create a triangle.  Using the tines of a fork, press the edges together to seal. Place pocket pie on baking sheet.  Repeat with remaining squares and dough.

When all the squares have been filled, you can either bake immediately or refrigerate or freeze the pocket pies.  To refrigerate, cover baking sheet tightly with plastic wrap and refrigerate for up to 24 hours.  When ready to bake, follow baking instructions below.

To freeze, cover baking sheet tightly with plastic wrap and place entire tray in the freezer.  When pocket pies have frozen completely through (at least overnight), remove to a plastic bag to store.  When ready to bake, follow the directions below.

In a small bowl, combine the egg and 1 tsp water with a fork or whisk.  Brush egg wash over each pie. Bake pies at 400F for 20-25 minutes, or until puffy and browned.  Let cool 5 minutes before serving.

Makes 18 pocket pies.

Sunday, April 29, 2012

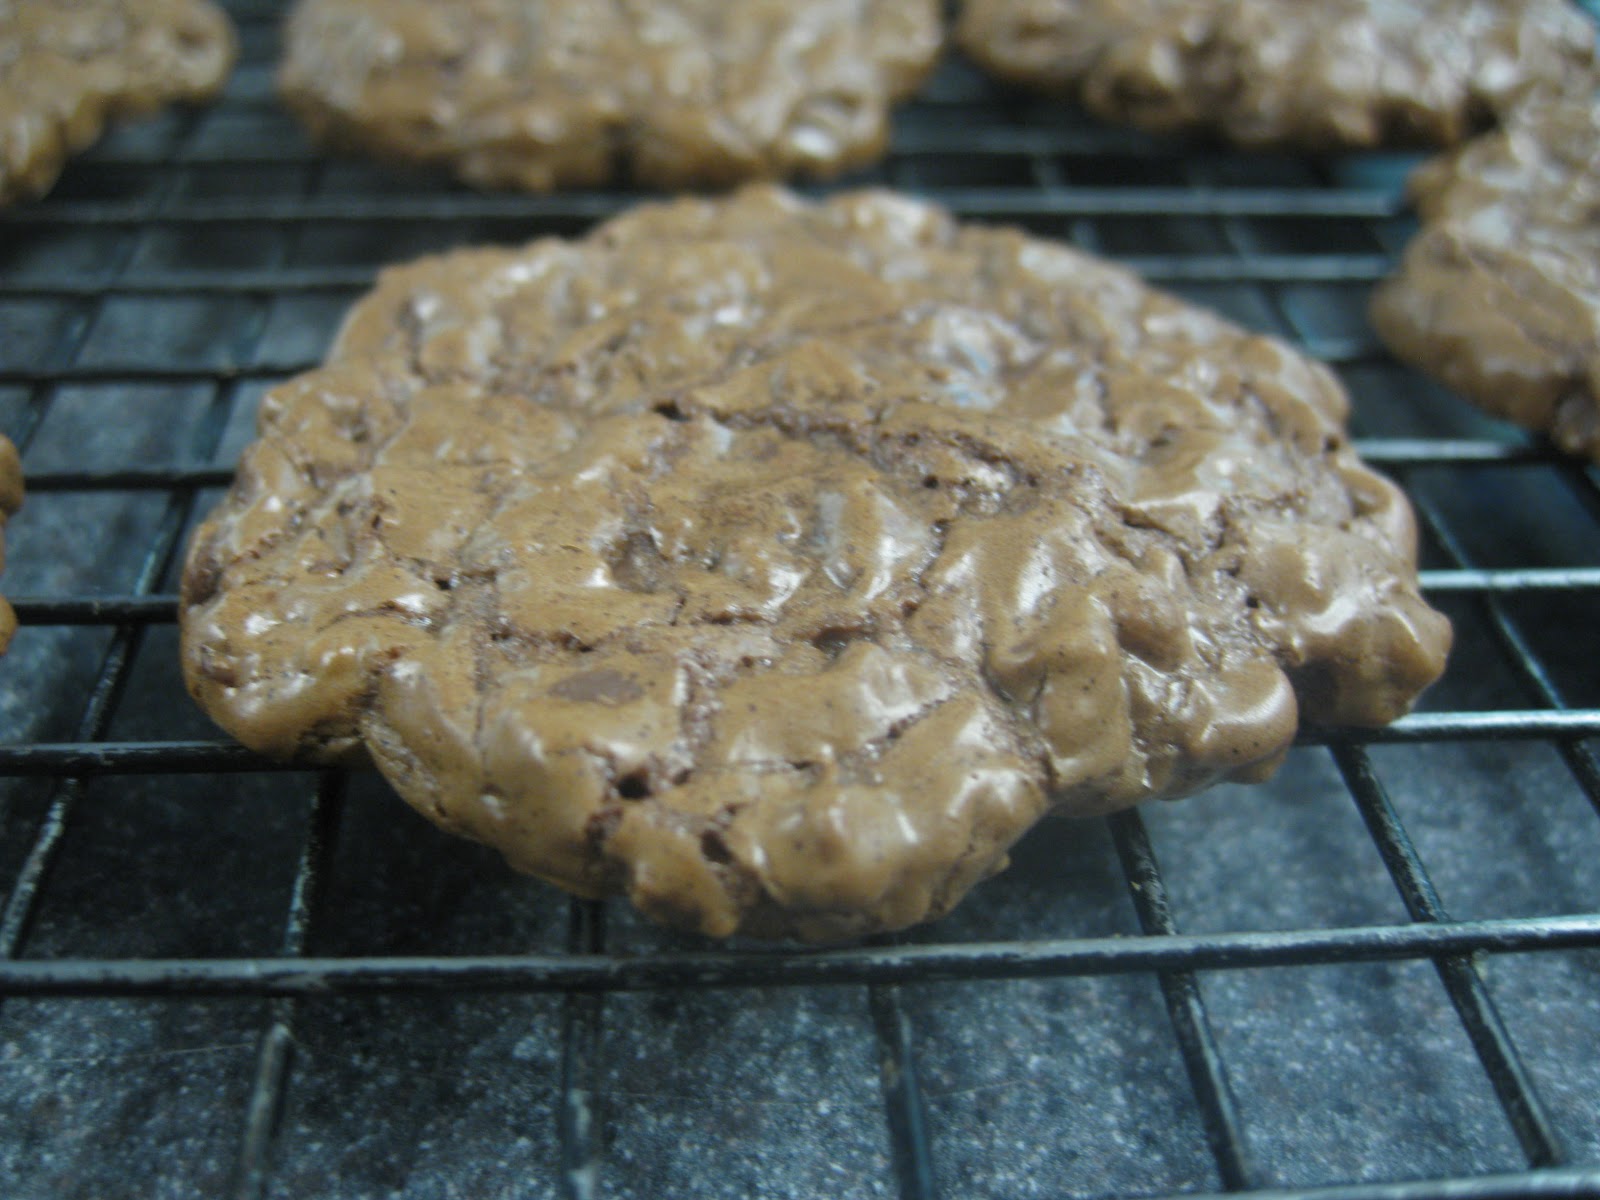
Chocolate Wows


This morning my husband was flipping through one of my cookbooks looking for inspiration and happened upon this recipe.  He asked me to make it, and since it meant I could do my two favorite things, namely bake cookies and eat chocolate, I gladly agreed.  The cookies are rich and chocolaty, with a good amount of cocoa flavor and the little bit of nuts to give it crunch and heft.  The outside is nicely crisp and the interior is fudgy like a good brownie.  In a word, Wow!

Chocolate Wows
Recipe by Good Housekeeping

Ingredients:
1/3 cup flour
1/4 cup unsweetened cocoa powder
1 tsp baking powder
1/4 tsp salt
6 oz semisweet chocolate, chopped
1/2 cup butter
2 large eggs
3/4 cup sugar
1 1/2 tsp vanilla
2 cups pecans, chopped
6 oz (or 1 cup) semisweet chocolate chips

Preheat oven to 375F and grease three cookie sheets.
In a small bowl, combine flour, cocoa powder, baking powder, and salt.  Set aside.
In a heavy 2-qt saucepan, melt chopped chocolate and butter over low heat, stirring frequently, until smooth.  Remove from heat and cool in refrigerator for 10 minutes.
In a large bowl, with mixer at medium speed, beat eggs and sugar until light and lemon-colored, about 2 minutes.  Reduce speed to low and add melted chocolate mixture, vanilla, and cocoa/flour mixture.  Beat until blended, then increase speed to medium and beat 2 minutes.  Stir in pecans and chocolate chips.

The finished dough is very soft, more like cake batter than cookie dough.  Drop a rounded spoonful of the batter onto a cookie sheet, then using the back of the spoon spread it into a 2-inch circle.  Repeat with remaining batter, keeping cookies 2 inches apart. 
Bake cookies at 325F for 15 minutes.  When cooked, the tops should be shiny and cracked.  Cool 10 minutes on the baking sheet before removing to a cooling rack to finish cooling.
Makes 3-4 dozen cookies.

Saturday, April 28, 2012

Hiatus

I've been on a brief hiatus, with week one being a vacation and week two being taking care of all my sick kids, who decided they'd welcome me home in the worst possible way.  But there are more delicious recipes coming, I promise!

Tuesday, April 10, 2012

Rosemary Rib Roast and Roasted Vegetables


Friday I decided to have a little Passover meal for our family.  I'm Christian, not Jewish, but someone had given me a nice two page mini-Seder script.  We'd been talking a lot about Passover in relation to the Holy Week of Christ's life, and so it seemed like a good lead-in to Easter. 

The ceremony itself went quite well and the kids did remarkably well, considering they mostly had to sit still and taste things they didn't like, such as parsley and horseradish.  They did like the matzo and the charoseth, but they were happy to get to the real full meal part of the Seder.  Their favorite thing was opening the door to look for Elijah, which is mostly amusing because my son's name is Elijah. 

For the meal we started with matzo ball soup (I cheated and bought it pre-made), latkes, and then had Rosemary Rib Roast with Roasted Vegetables.  In case you've never made a rib roast before, it is an extremely tender piece of meat, and is just delicious!  When you combine it with fresh rosemary and garlic and perfectly roasted vegetables, it's heaven!  You can use the vegetables I used, or you could use sliced eggplant, baby new potatoes, cauliflower, asparagus, turnips, and/or sweet potatoes.  Be creative!

Rosemary Rib Roast and Roasted Vegetables
Adapted from Epicurious.com

Ingredients:
3-4 lb Beef Rib Roast, boneless (or cut if from the bone if you can't find a boneless one)
4 sprigs fresh rosemary, leaves picked
2 T minced garlic
2 T vegetable or olive oil
1 T kosher salt
2 zucchini, sliced into 1/4" slices
2 large carrots, peeled and cut into 1/2" pieces

2 parsnips, peeled and cut into 1/4" slices
4 oz mushrooms, washed and sliced

In a small bowl combine garlic, rosemary, oil, and salt.  Rub generously onto all sides of meat.  Cover with plastic wrap and refrigerate for 2 to 24 hours. 
Preheat oven to 350F.  Remove roast from refrigerator and remove plastic wrap.  Place roast in a lightly greased 9x13 roasting pan (or larger) and sprinkle vegetables around it. 
Bake at 350F for about 1 1/2 hours, or until roast registers about 130 degrees on a meat thermometer.  Let sit for 15-30 minutes before slicing and serving.
Serves 6.